A favourite recipe from my childhood!
Growing up, these were one of my very favourite Christmas cookies. It was only when I first made them by myself in my 20s that I came to really appreciate my Mom having made them year after year, given that they are a bit time consuming, though well worth the effort. She’s not a fan of rolling out cookie dough, despite being very adept at it, so the fact that she prepared these cookies for me, year after year, is very touching. I’ve refreshed her classic recipe with a hint of peppermint. You could easily omit the peppermint, or substitute it with almond if you prefer. The same goes for colours – consider red and white for Valentine’s Day, pastels for Easter, or black and orange for Hallowe’en. Whatever colours you choose, be sure to use a top quality food colouring product – it takes only a few drops to give your cookies and eye-catching appearance!

Ingredients
- 2 cups (250 grams) all purpose flour
- 1/2 teaspoon (2.5 mL) baking powder
- 1/4 teaspoon (1.25 mL) salt
- 1/8 teaspoon (.65 mL) baking soda
- 1/2 cup plus 2 tablespoons (143 grams) butter, at room temperature
- 1/2 cup packed brown sugar (125 mL)
- 1/4 cup (62 mL) white sugar
- 1 egg
- 1 teaspoon (5 mL) vanilla
- red and green food colouring
- peppermint extract
Method
- Using a stand mixer or hand-held electric mixer, beat butter and sugars together until fluffy and lightened in colour.
- Add egg and vanilla and beat until well blended.
- Combine dry ingredients and add to butter mixture in three portions, beating well between each addition.
- Remove dough from bowl and divide into three equal portions. Leave one portion plain.
- Put one of the portions in a medium bowl; add several drops of red food colouring and several drops of peppermint extract. With a spoon (or your hands), work the dough until the colour is evenly and fully incorporated.
- Put the remaining portion of dough into a clean bowl and add several drops of green food colouring. Work as above until even in colour.
- Shape each portion of dough into a 1/2” (1.25 cm) thick rectangle and wrap each one in plastic wrap. Refrigerate until cool and firm (about one hour).
- Roll out each rectangle as thin as possible (1/8” / .3 cm), making each coloured layer approximately the same size.
- Layer the three rectangles on top of each other; with a sharp knife trim the edges so the layered rectangle is uniform.
- Roll the layered dough up, jellyroll style, to create a cylinder.
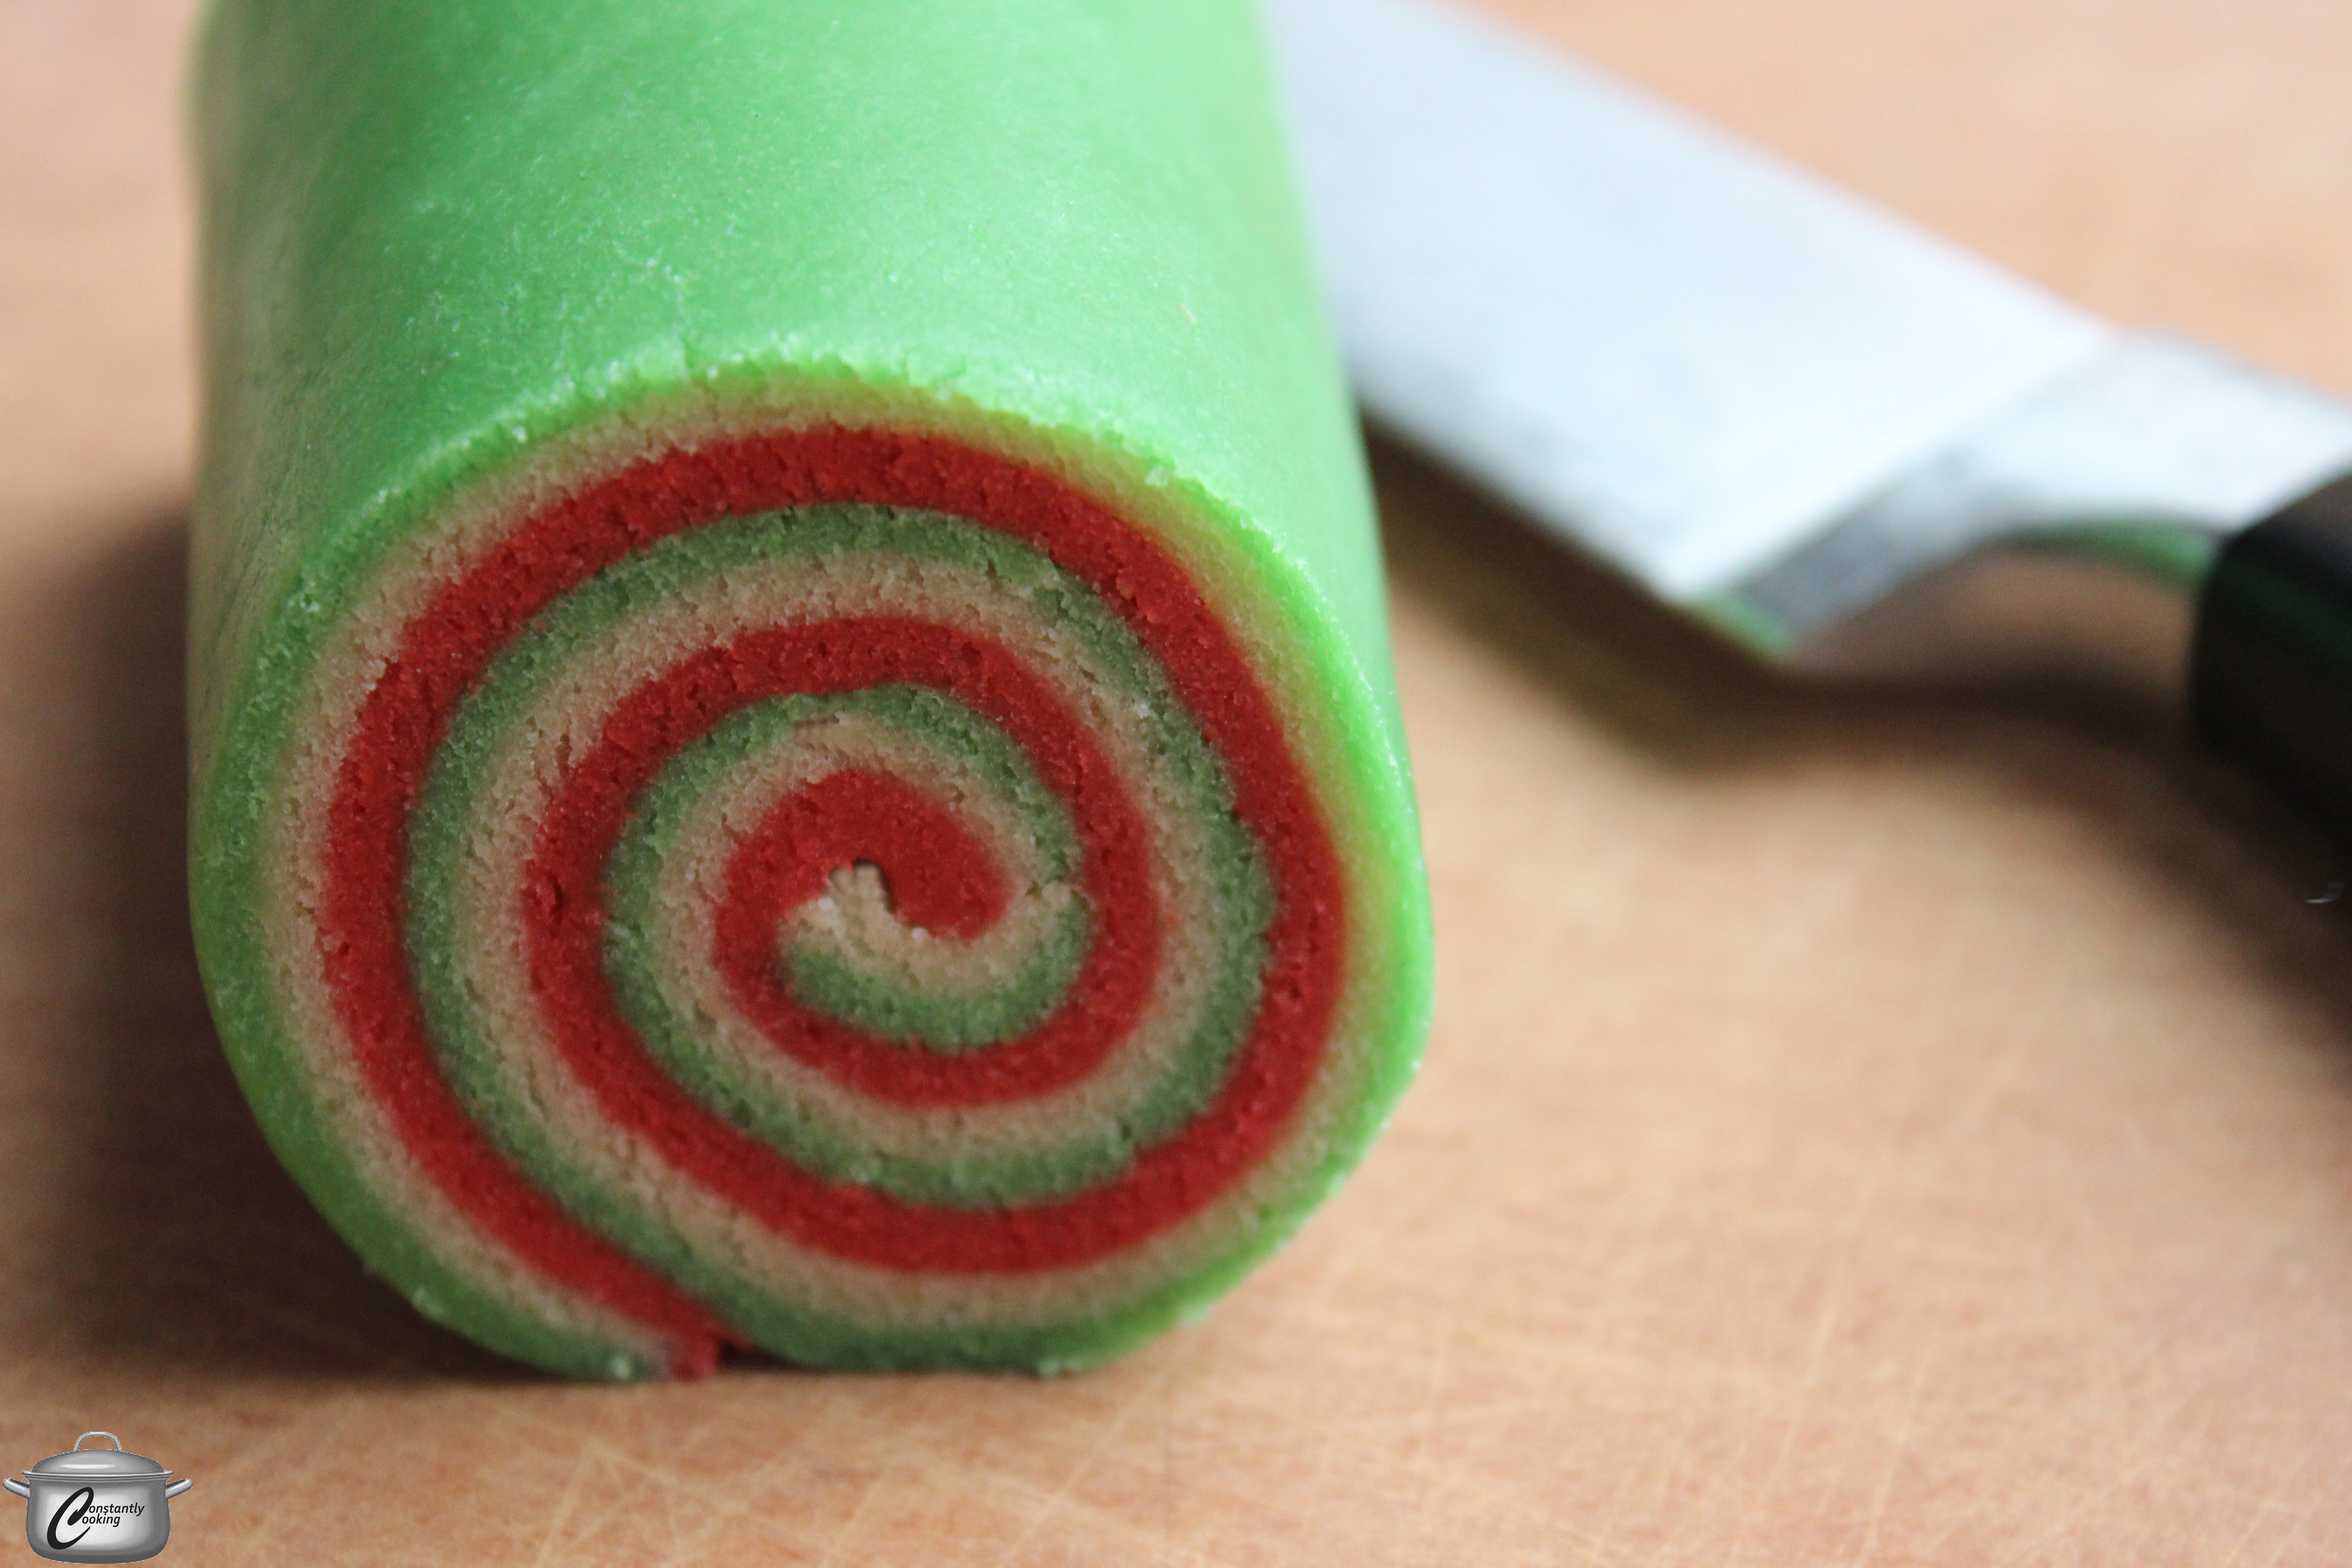
- Wrap the cylinder in plastic wrap and refrigerate for at least one hour or up to 3 days.
- Preheat oven to 350F.
- Slice the cylinder thinly (1/8” / .3 cm) and lay the slices on a parchment-lined baking sheet, at least 1/2” / 1.25 cm) apart.

- Bake for about 8 minutes, removing from oven before the cookies begin to brown.
Makes approximately 3 dozen cookies.
