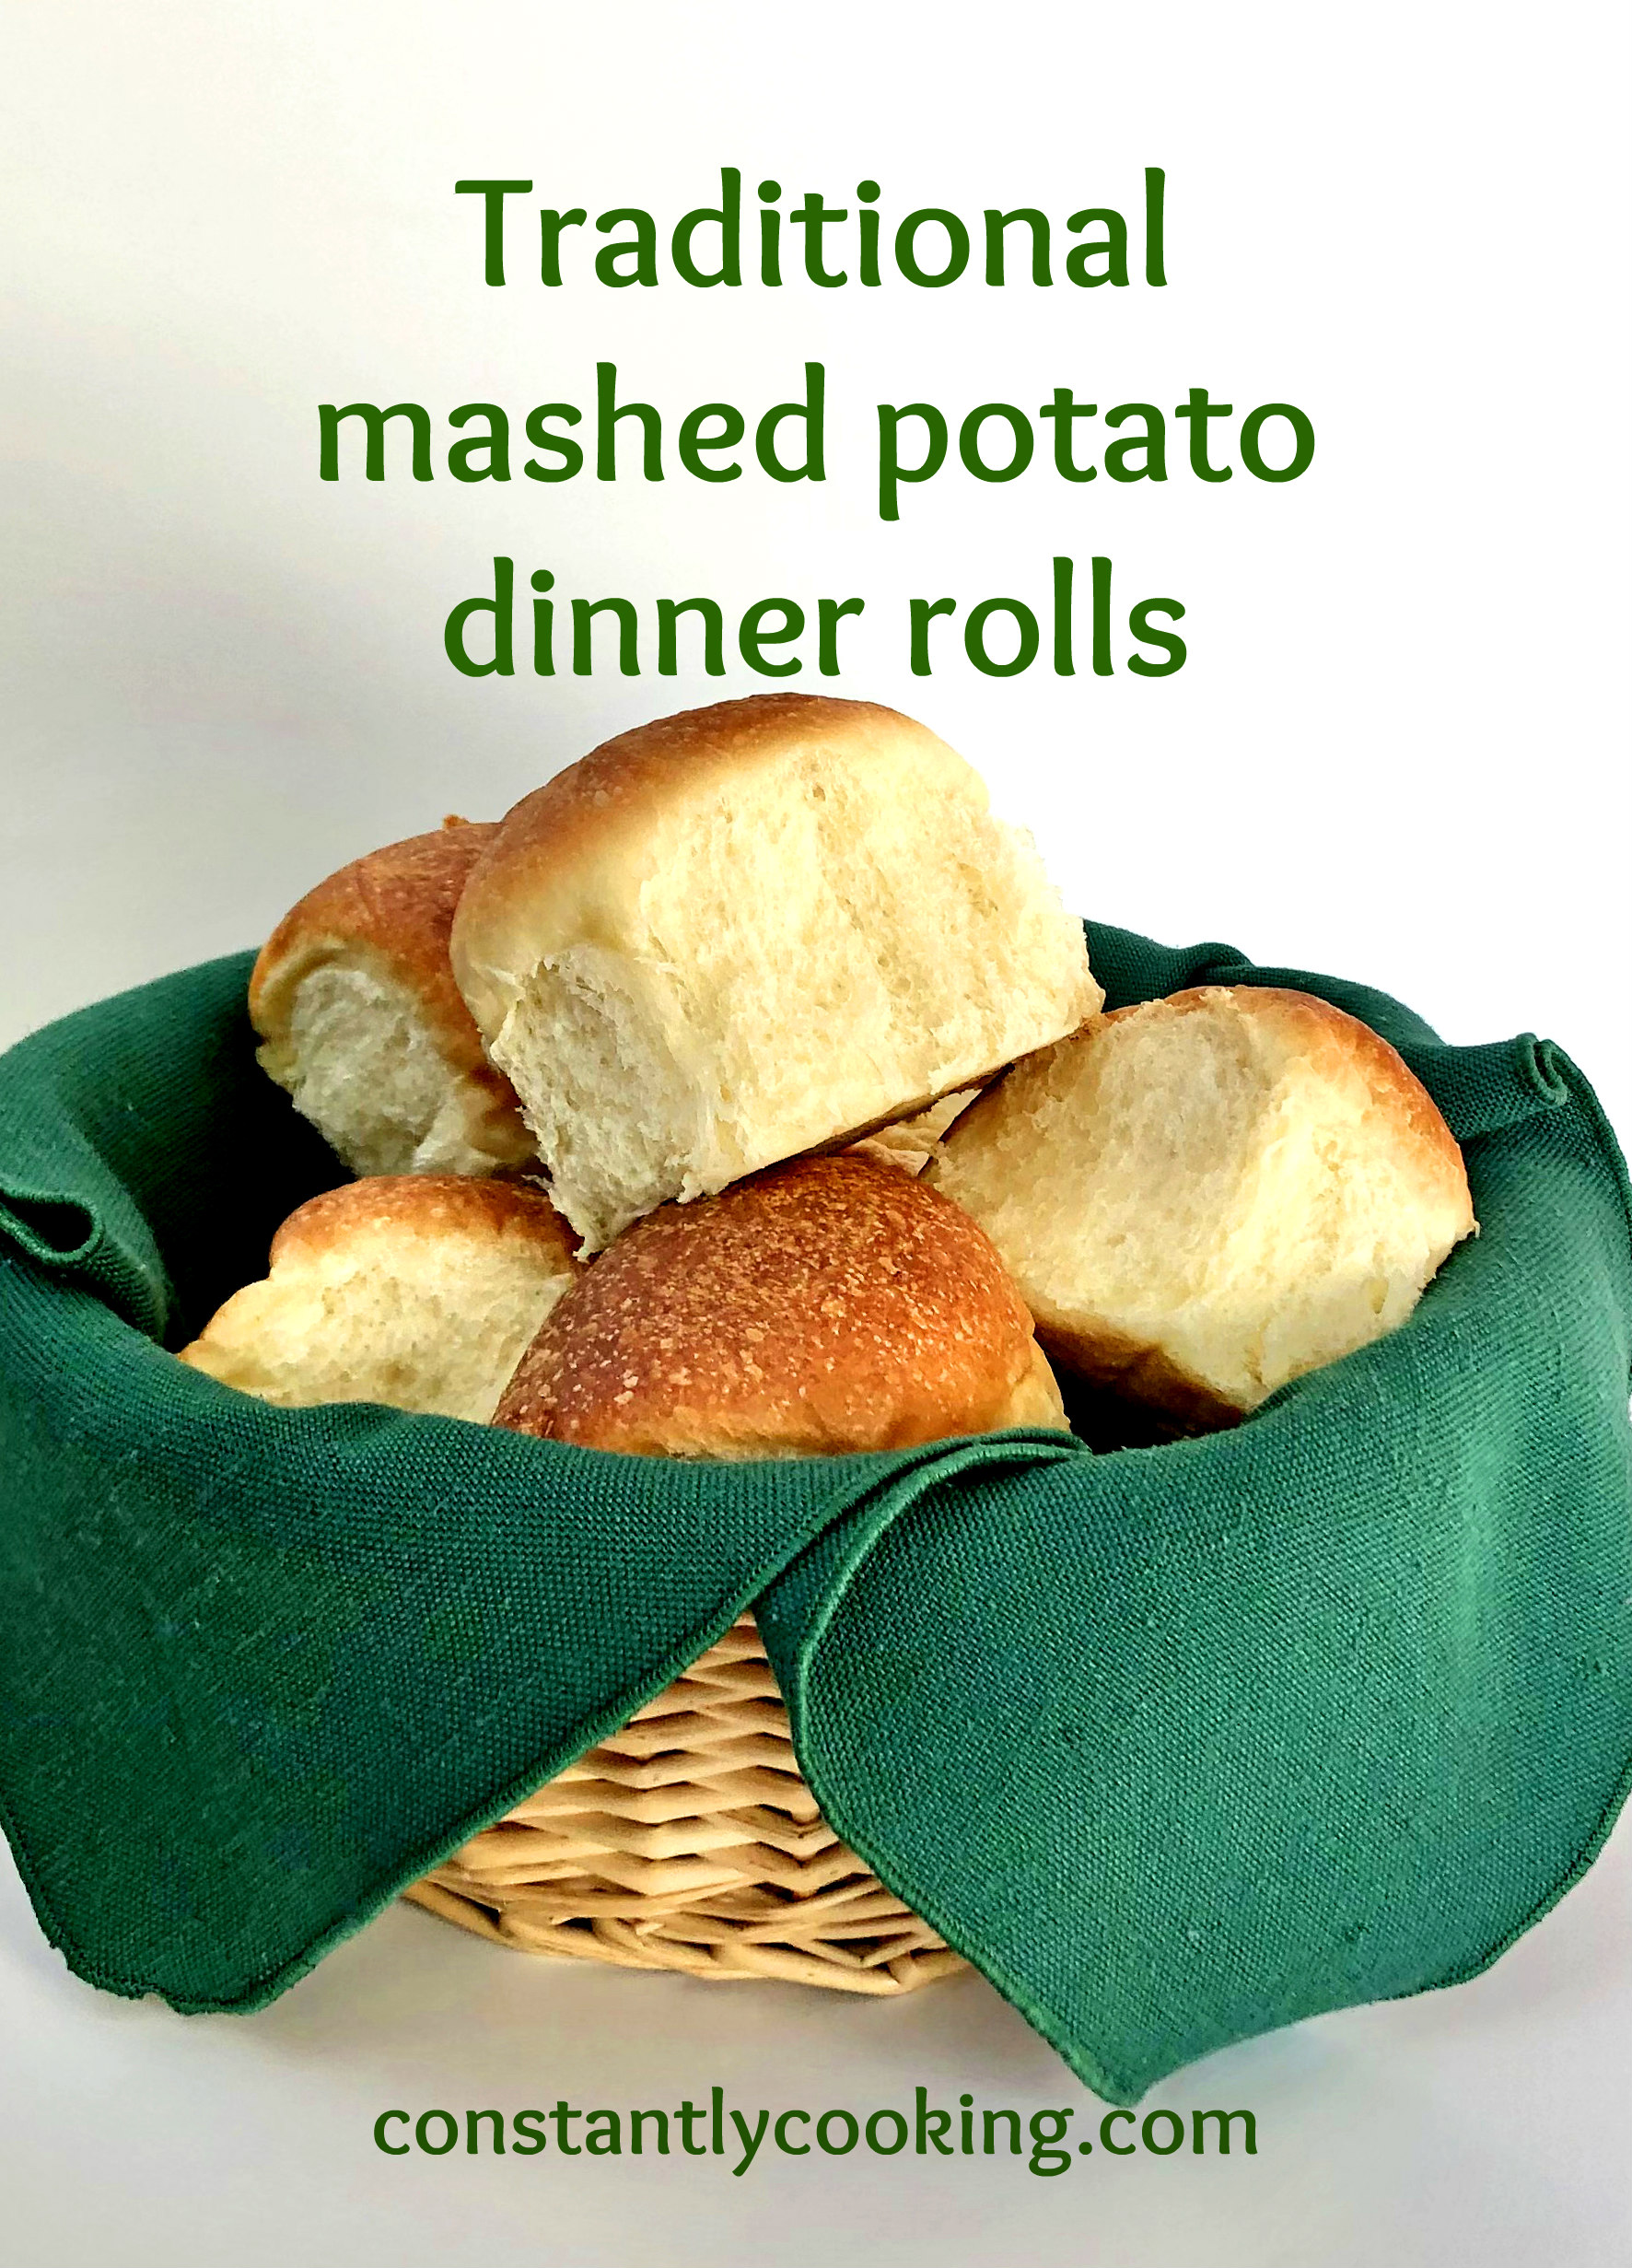
Freeze and bake these fluffy and delicious gems!
I remember first having these rolls served to me by a friend’s thrifty grandmother in the early 1970s – she made them often as a way to use up leftover mashed potatoes when there was an insufficient quantity of them remaining to serve the whole (large) family. She was the kind of prudent, frugal cook who even saved the water potatoes were cooked in to add to soups, bread dough and more. These rolls (or buns, if you prefer) have a nice density while still being fluffy and delicious. As the instructions below explain, you can shape the rolls and freeze them to bake later, which is a big plus if you don’t want to bake up the whole batch at once.

Ingredients
- 1 large baking potato; peeled, boiled and well-mashed *
- 2 1/2 teaspoons instant yeast or active dry yeast
- 3/4 cup (180 mL) water, lukewarm
- 2 large eggs
- 1/3 cup (67g) sugar
- 2 teaspoons (12g) salt
- 6 tablespoons (85g) butter, softened
- 3 1/2 – 4 cups (420 – 480g) all-purpose flour
- 2 teaspoons (10 mL) vegetable oil
- 1 tablespoon (14 g) additional melted butter for brushing tops
*1 large baking potato will yield at least 1 cup (210 g) of mashed potato. Be sure it is extremely smooth after mashing (use an electric hand mixer and add some milk if needed); otherwise there will be lumps of potato in your rolls
Method
- Measure out one cup (210 g) of the mashed potato, lightly packing it into the measuring cup. Set aside to cool to lukewarm if needed.
- Make the dough by combining the yeast and warm water in a large mixing bowl (use a stand mixer if you have one). Let the yeast bloom until it is frothy in the bowl.
- Add the eggs, sugar, salt, softened butter, mashed potatoes and 3 cups of the flour. Mix until the dough has come together in a ball, then continue to add flour, a tablespoon or two at a time, as you knead it (by machine or by hand). This process should take about 5 minutes and result in a smooth, soft and slightly sticky dough.
- Transfer the dough to a clean bowl that has been lightly greased with the vegetable oil. Cover the bowl with a clean tea towel or plastic bag and let rise about 75 – 90 minutes in a warm spot until it has doubled in size. During cold Canadian winters, I like to preheat my oven to 170F for 5 minutes then turn it off and put the covered bowl in there.
- Once the dough has risen, punch it down with a clean hand to deflate it then remove it from the bowl and place on your work surface. With a large, sharp knife, cut it into 16 equal pieces. Use your hands to shape each piece by folding the edges towards the centre then flipping over the dough and rolling into a smooth ball with your cupped fingers and palm. There are lots of videos on YouTube if you need help with this process. Note that rather than adding flour to the work surface, if the dough is really sticky as I am handling it, I prefer to put a few drops of vegetable oil on my hands.
- Place the shaped rolls about one inch (2.5 cm) apart on a greased or parchment-lined baking tray. If baking half the batch, I like to use a 9 inch (22.5 cm) round springform pan. Cover the pan with a clean tea towel, and let them rise for 75 – 90 minutes, until doubled in size.
- Alternatively, you can place the shaped rolls on a parchment-lined baking sheet and freeze them; once frozen solid, transfer to an airtight container and store for up to 2 months. When you go to bake from frozen, place the rolls on a parchment-lined baking tray. Cover with a clean tea towel and let thaw and rise 4 – 5 hours, until doubled in size.
- When rising time is complete, preheat oven to 350F.
- Brush the tops of the rolls with melted butter to enhance their texture and appearance, then bake for 20 to 25 minutes, until golden brown. I like to measure the internal temperature with an instant-read thermometer; it should be 190F.
- Transfer baked rolls to a cooling rack and serve warm or at room temperature. Store baked rolls in an airtight container for up to 3 days or freeze for longer storage.
Makes 16 rolls.

Paula I rarely buy baking potatoes…red potatoes are my fave. Do you think this recipe would work with reds?
I am sure it would – just make sure they are mashed very smoothly and are not too wet. You likely won’t need to add a lot of liquid as reds are generally a ‘wetter’ potato than bakers like russets. Let me know how it works out!
Where do you find Bread booster?
I was given some so I am not 100% certain though I do recall having seen it at Walmart and I believe Whole Foods also sells a dough enhancer. Please know that this recipe works perfectly well without it, provided you use the longer rising times, as recommended. Happy baking!
Hi Paula! I made these this week and they turned out so well; a huge hit with my family. I was excited to try your trick to freeze half of the batch for next time. Unfortunately, that’s not going to work out long term; the family all wanted more!
I’m so pleased to hear this, Jill! Glad the rolls were such a hit with your family. Pro tip: I’ve been making a double batch lately and freezing half (but my family still thinks they’re getting to devour a *full* batch)! They are so yummy.
Hi Paula, would instant mashed potatoes work with this recipe? Thanks.
Hi Liisa, I haven’t tried so can’t say for certain but I feel as thought if you reconstituted the flakes to be the consistency of fluffy mashed potatoes it should work. If you do try it, please report back as I am eager to know!
Just made these to go with my homemade chili for dinner. Cut them too large, almost the size of a Hamburg bun, but they are very very tasty. Froze smaller ones for future. I had a hard time with the “cutting into 16 pieces”. My dough was a bit so soft but it worked out okay just the same. Next time, I will know and put more flour for a better consistency.
It is a soft dough for sure but depending on the ambient temperature in your home and even the temperature of your work surface it can be stickier or a bit more challenging to deal with. I enjoy breadmaking a lot and I’ve definitely learned to rely on the feel of the door to know whether or not a few more tablespoons of flour would be warranted. I’m so pleased that you liked the flavor and hopefully the smaller buns will be the size that you prefer.